Windshields
Accessories
Windshields
Accessories
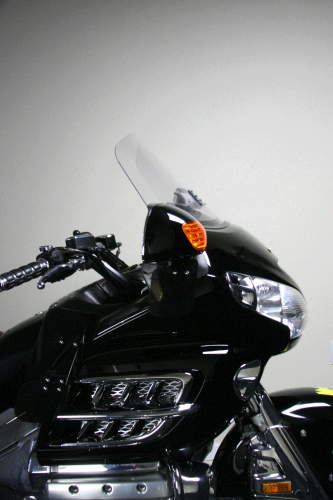
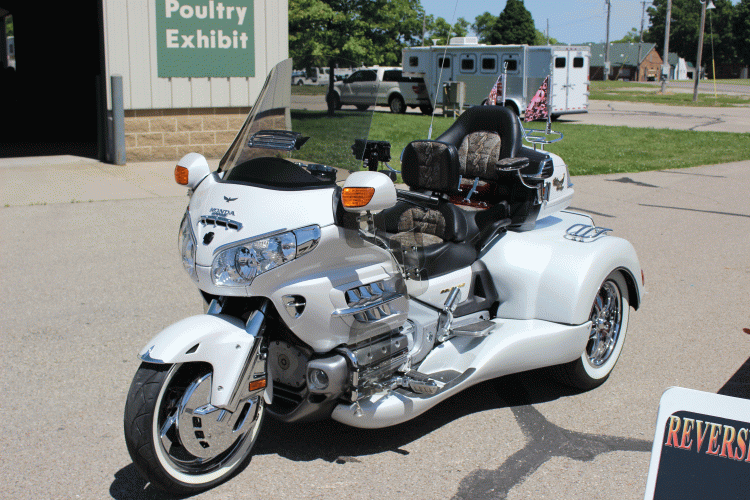
Windshields for GL1800 Gold Wing (2001 to 2017)
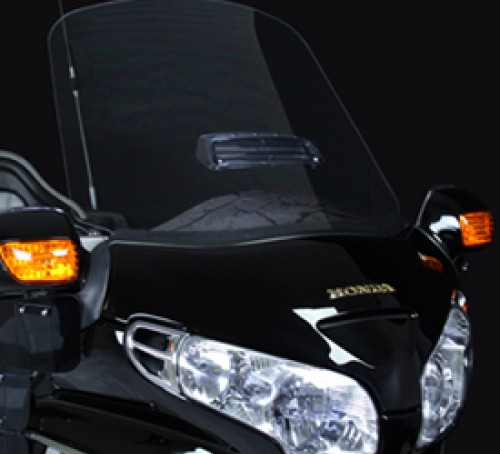
Product Description
Brand:F4 Customs
Sku:
Availability:In Stock
Most products ship within two business days. See our warranty and return policy
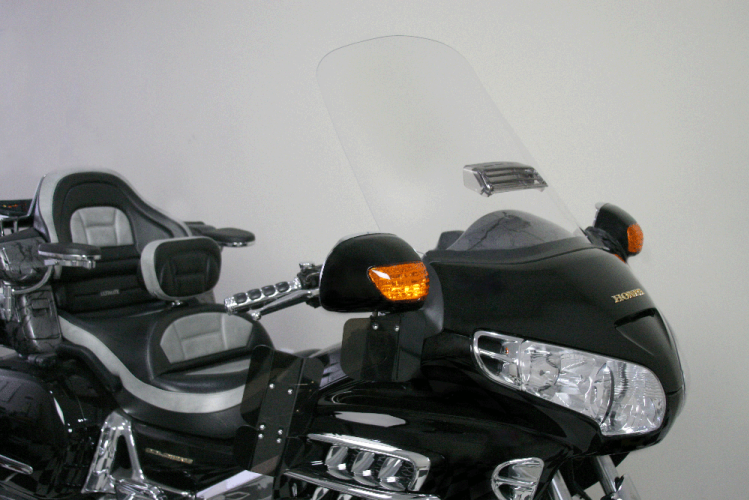
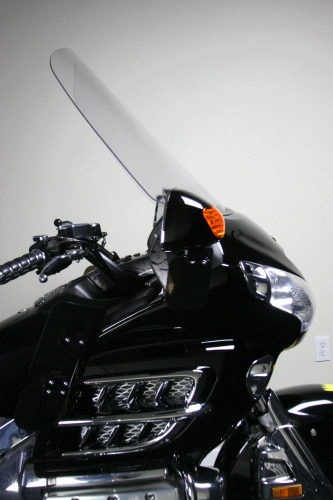
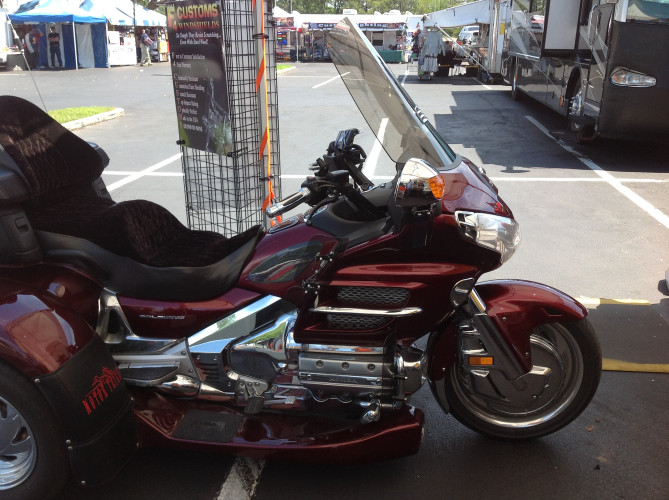
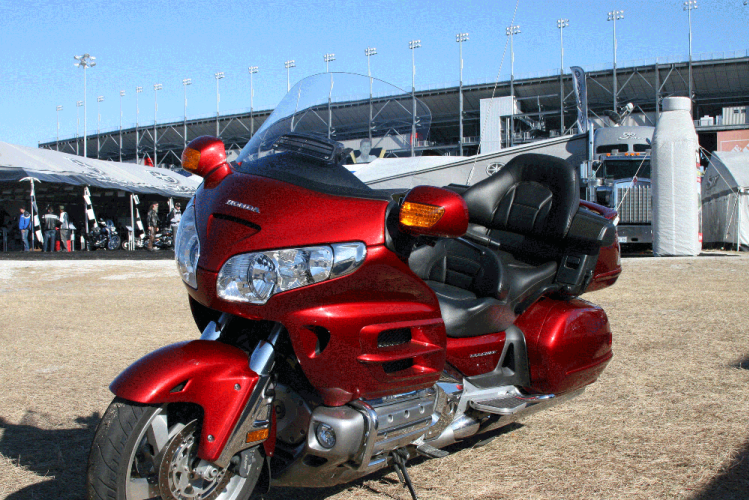
F4 Customs Replacement Motorcycle Windshields
F4 Customs’ replacement motorcycle windshields are designed with two things in mind: quality and experience. Every one of our motorcycle windscreens is constructed from the highest optical grade polycarbonate we could find. Then it is formed and coated with a proprietary hard coating that protects your windshield from scratches. The proprietary coating is also designed to shed rain, and clean easy. Our replacement motorcycle windshields also come in varying height and style options, so you get the riding experience you want, whether that ride is a short-day trip or a 10,000-mile journey. Every F4 Customs motorcycle windshield is designed to perform and last, wherever the road takes you.
Choosing the right F4 Customs motorcycle windshield for GL1800 Gold Wing (2001-2017):
What height should I get?
There are several things to consider when choosing the perfect height replacement windshield for your Honda motorcycle. The first question we ask is; do you like to look over or through the windshield? If you like to look over the windshield the following models may work for you: Sport (-2”), Stock, and Plus 2 (+2”). All of these options can adjust up and down and sit in any of the five positions. If you are comfortable looking through the windshield, the Plus 2 and the Plus 4 are great options. If you are searching for maximum wind protection for you and a co-rider the Plus 2 and Plus 4 are taller, wider options and will give you the most wind protection for your ride.
Sport: The Sport windshield is two inches shorter than the stock height. It adds a sporty look but gives you all the benefits of the F4 windshield: optical clarity, scratch resistance, rain-shedding and easy cleaning!
Stock: The stock height option retains the height and shape of the current OEM windshield but includes all the benefits of owning an F4 windshield: optical clarity, scratch resistance, rain-shedding and easy cleaning!
+2: The Plus 2 is two inches taller than the stock height and a 1/2” wider per side than the stock. This is great for added wind protection while maintaining the stock adjustability.
+4: The Plus 4 is the best shield for maximum wind protection for both you and a co-rider. It significantly reduces head buffeting and microphone noise. Not only is this shield four inches taller than the stock, but it is also 1” wider too. The Plus 4 windshield does not adjust, and it is highly recommended the Plus 4 be mounted in the 4th position.
Should I go with clear or tint?
Clear: We recommend the clear option if you do a lot of night riding, or you prefer the visibility a clear windshield provides.
Tint: The tint option is 15% tinted, so you can still look through it during night rides. The tint also acts like a pair of sunglasses during the day and reduces headlight glare at night.
Should I get a vent?
We use an OEM GL1800 stock 5-position vent in our windshields. The vent gives you control over how much wind reaches you. The vent works great in all windshield models however, can be especially beneficial in the taller, wider models that aim to reduce the amount of wind you feel.
Replacement Motorcycle Windshield For:
MAKE: Honda MODEL: GL1800
YEAR: 2004, 2005, 2006, 2007, 2008, 2009, 2010, 2011, 2012, 2013, 2014, 2015, 2016, 2017
| Part Number | Vent hole for Honda OEM Vent | Honda OEM Vent Installed | Clear | Tint | Wide | Thickness | Mounts to Factory fairing | DOT Approved | Fits 1988-2000 GL1500 models | Made in the USA |
| GL1800 | ||||||||||
| GL1800-S-C | x | 0.157 | x | x | x | x | ||||
| GL1800-S-T | x | 0.157 | x | x | x | x | ||||
| GL1800-S-C-V | x | x | 0.157 | x | x | x | x | |||
| GL1800-S-T-V | x | x | 0.157 | x | x | x | x | |||
| GL1800-C | x | 0.157 | x | x | x | x | ||||
| GL1800-T | x | 0.157 | x | x | x | x | ||||
| GL1800-C-V | x | x | 0.157 | x | x | x | x | |||
| GL1800-T-V | x | x | 0.157 | x | x | x | x | |||
| GL1800-P2-C | x | x | 0.157 | x | x | x | x | |||
| GL1800-P2-T | x | x | 0.157 | x | x | x | x | |||
| GL1800-P2-C-V | x | x | x | 0.157 | x | x | x | x | ||
| GL1800-P2-T-V | x | x | x | 0.157 | x | x | x | x | ||
| GL1800-P4-C | x | x | 0.177 | x | x | x | x | |||
| GL1800-P4-T | x | x | 0.177 | x | x | x | x | |||
| GL1800-P4-C-V | x | x | x | 0.177 | x | x | x | x | ||
| GL1800-P4-T-V | x | x | x | 0.177 | x | x | x | x |
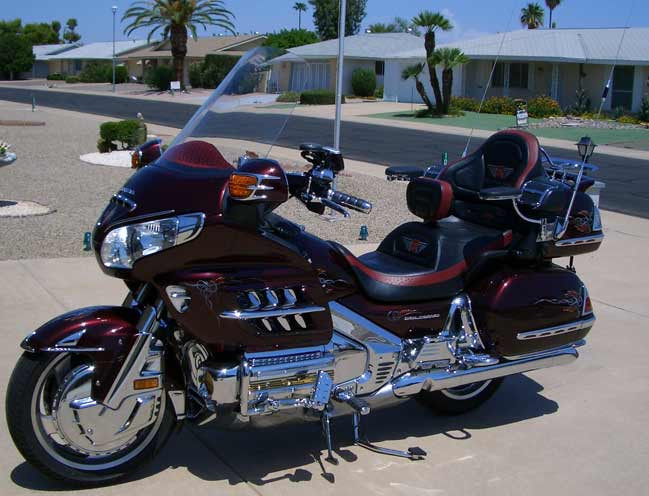
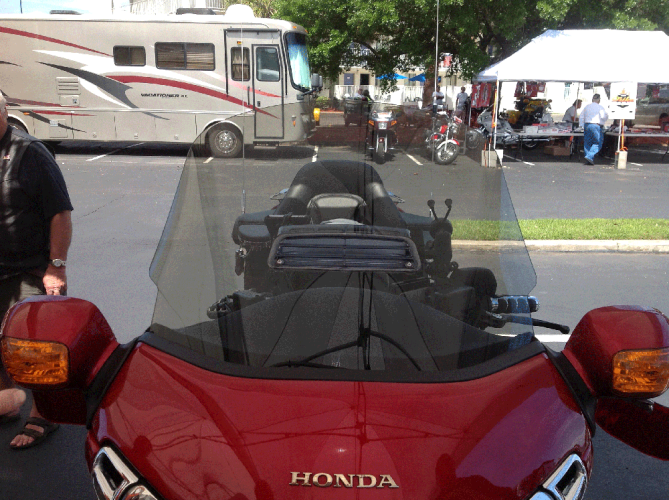


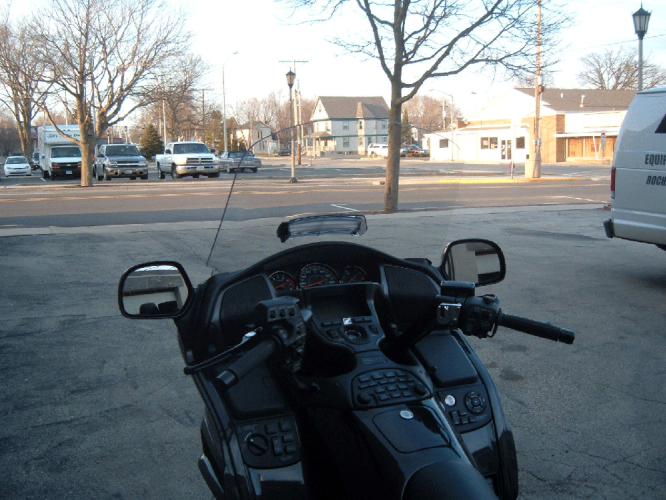
Download Installation instructions here.
Changing The 1800 Gold Wing Windshield
Step 1:
Loosen (raise) windshield height levers.
Step 2:
Pull the rubber boots toward the mirrors.
Step 3:
Push the mirrors forward and down to expose the 10mm nut the on windshield height lever. Stuff a rag in the area under the
nut so you don’t drop it into the bowels of the bike. Remove 10mm nut. Use a magnet if needed.
Step 4:
Slip a cloth-covered flathead screwdriver under the
windshield garnish and pry outward and upward. The bosses will pop free of their grommets. *These are similar to those in your side covers.
Step 5:
Lift the windshield garnish like the hood of a car.
Step 6:
Rotate cover piece 180 degrees.
Step 7:
Remove the 8mm bolt and lift off the windshield garnish.
Step 8:
Set garnish aside and clean area as desired.
Step 9:
Remove the 2 (or 4, depending on model year) Phillips and two 5mm Allen-head screws and lift off the windshield.
Step 10:
There are 8 short vertical and 1 long horizontal pieces of a tape-like material to allow the shield to slide easily up and down.
NOTE: When installing the 1800S, 1800, or 1800+2, the long, horizontal piece at the top and the vertical pieces will be replaced with Velcro strips provided. DO NOT install two outermost vertical strips as shown in photo, this has been changed. When installing the 1800+4, only the horizontal strip will be replaced.
Step 11:
Remove the old tape and glue residue (does not have to be removed completely).
Step 12:
A strip of soft Velcro is included with your windshield. For the horizontal strip, start from the left and move your way right, applying a good amount of pressure on the material to make sure it sticks. Cut the bottom of the Velcro with a utility blade at the bend to let it follow the contour of the fairing. Go back and apply pressure to make sure there are no air bubbles. Using a utility blade, trim the edges to follow with the curve of the dash.
For the vertical strips, place Velcro on raised slide area.
Do 8 slides (no need to do two outermost slides as shown). Velcro is wider than slide area, no need to trim width, just center Velcro on slide. Proceed to next step.
Step 13:
Replace windshield, tighten bolts and raise shield all the way
- The -2, standard height or the “+2” windshields can be installed at any of the adjustments and retains full adjustability.
- If you are installing a +4” do the following before installing windshield:
- Pull the adjuster all the way up to release it.
- Push the adjuster all the way down to reset the mechanism.
- Move adjustment mechanism to the 4th position (click) from the bottom. Install the +4” shield on the 4th adjustment click from the bottom only. The +4” shield is designed to be installed at the 4th position (click) for the maximum wind protection.
TO FINISH:
- Replace garnish in reverse order.
- Be sure to turn the piece from Step 6 to its original position.
- Use a spray silicone to lubricate the 4 bosses from Step 2.
- Replace the nuts on the height levers and tighten.
- Remove the rags.
- Make sure windshield is straight and tighten height levers.
- Spray silicone on rubber boots to make putting them back in place easier.
Thank you for your F4 Customs windshield purchase. If you have any difficulties regarding the replacement process, please feel free to contact us.
Questions? Comments?
sales@f4customs.com
(330) 968-4644
***F4 Customs is not responsible for any injury or harm to either the individual or product resulting from the installation process.

_0x0_d3f.jpg)