Windshields
Accessories
Windshields
Accessories
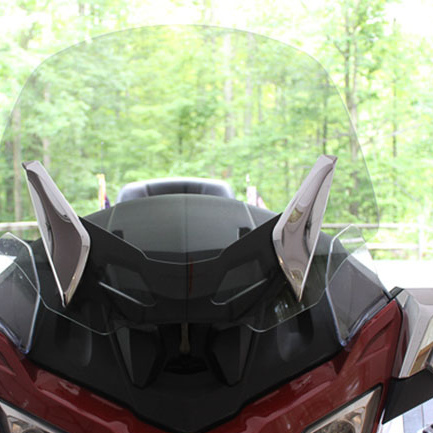
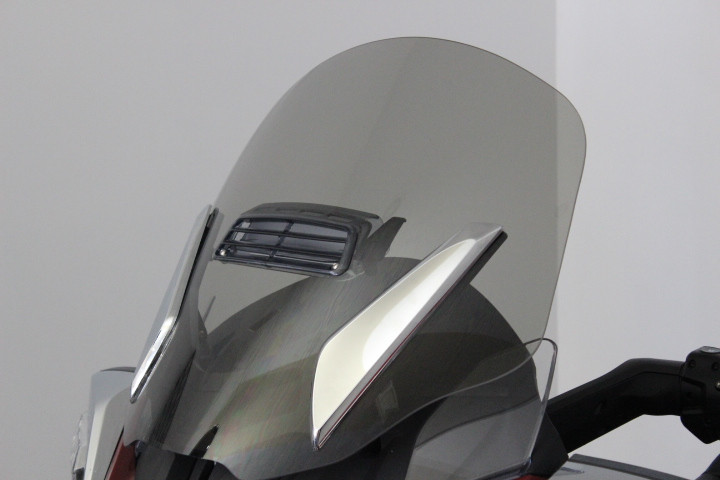
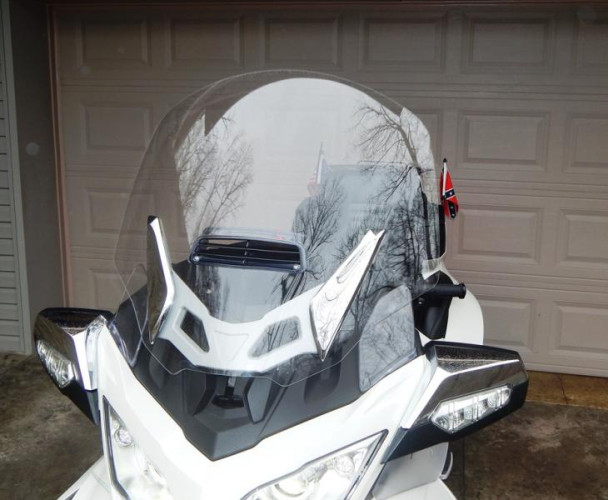
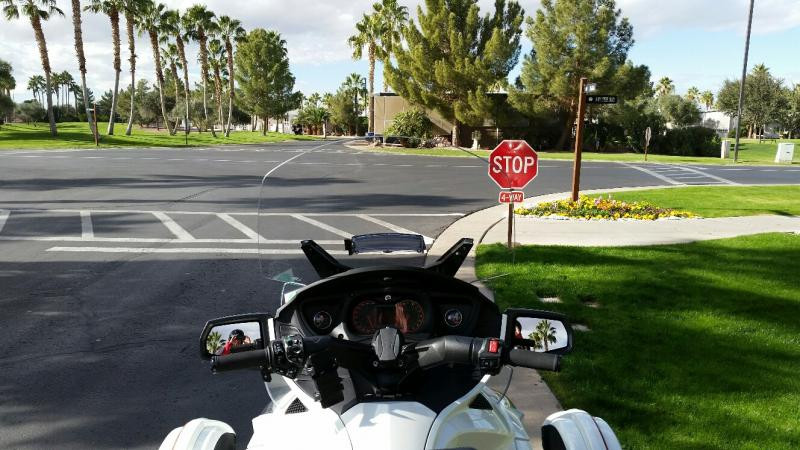
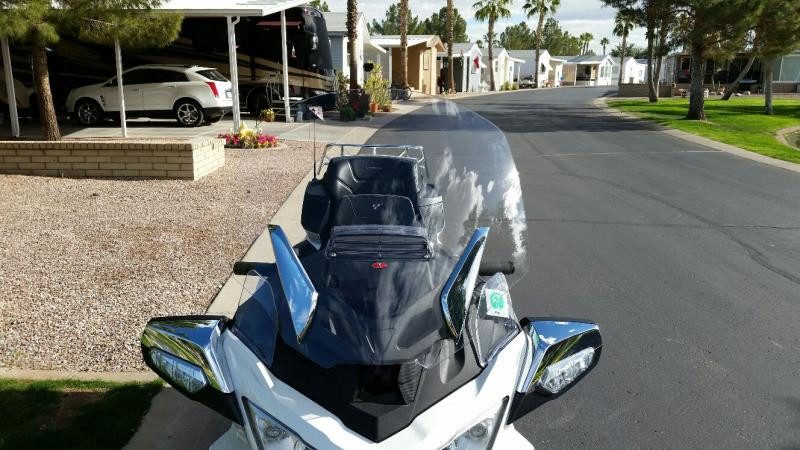
"Give yourself a great ride on a great machine with the F4 Customs F3 Touring/Limited Windshield". The shield mounts with your existing hardware.
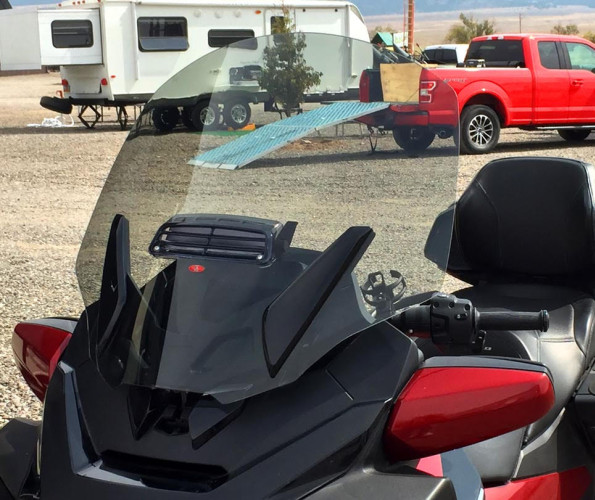
Sport Wide Windshield for Spyder RT/RTS
Product Description
Brand:F4 Customs
Sku:
Availability:In Stock
Most products ship within two business days. See our warranty and return policy
F4 Customs Replacement Motorcycle Windshields
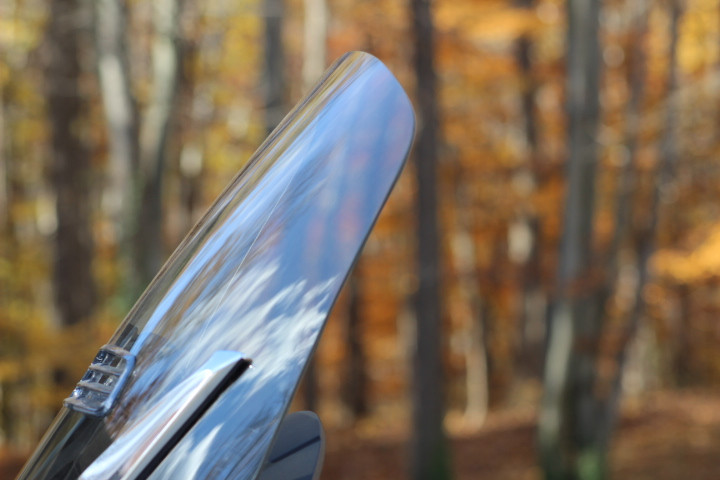
F4 Customs’ replacement motorcycle windshields are designed with two things in mind: quality and experience. Every one of our motorcycle windscreens is constructed from the highest optical grade polycarbonate we could find. Then it is formed and coated with a proprietary hard coating that protects your windshield from scratches. The proprietary coating is also designed to shed rain, and clean easy. Our replacement motorcycle windshields also come in varying height and style options, so you get the riding experience you want, whether that ride is a short-day trip or a 10,000-mile journey. Every F4 Customs motorcycle windshield is designed to perform and last, wherever the road takes you.
Choosing the right F4 Customs motorcycle windshield for Can-Am Spyder RT/RTS:
What height should I get?
Choosing the perfect height for your motorcycle windshield can be challenging. Here are a few important things to keep in mind: do you want to look over the windshield or will you be comfortable looking through the windshield, what do you like about the performance of the stock windscreen and what don’t you like, and where and when do you ride?
Below are the F4 Customs motorcycle windshield height options for Can-Am Spyder RT/RTS:
Sport: The sport windscreen is three inches shorter than the stock. It gives your motorcycle a sporty look, with all the added benefits of an F4 Customs motorcycle windshield.
Stock: The stock height is just that, the same height as the stock windshield. But with the F4 Customs stock height windshield you get all the benefits of an F4 like: optical clarity, scratch resistance, rain-shedding and easy cleaning.
+3: The Plus 3 is standing tall at 28” from the bottom of the windscreen to the top. It is three inches taller and all Plus 3 models are made 2 and 1/2 wider per side than the stock. This windshield provides maximum wind protection for you and a co-rider.
Watch How to Select the Right Height Windshield Here
What’s with wide?
Every F4 Customs replacement windshield for Spyder RT and RTS is available in a wide option. The extra 2 and 1/2 inches per side helps protect yours arms and torso and those of a co-rider! The wide option maximizes protection from the elements.
Should I go with clear or tint?
Clear: We recommend the clear option if you do a lot of night riding, or you prefer the visibility a clear windshield provides.
Tint: The tint option is 15% tinted, so you can still look through it during night rides. The tint also acts like a pair of sunglasses during the day and reduces headlight glare at night.
Should I get a vent?
We use a 5-position tinted vent in our windshields. The vent gives you the control over how much wind reaches you. The vent works great in all windshield models however, can be especially beneficial in the taller, wider models that aim to reduce the amount of wind you feel.
How to measure my Spyder RT/RTS windshield:
Measure your windshield from the bottom of the windshield to the top in the center. You will need to measure the windshield from the front of the motorcycle. This will give you the measurement needed to compare what heights will work best for you. Please note the stock windshield is 25” from the bottom to the top.
Replacement Motorcycle Windshield For:
MAKE: Can Am Spyder MODEL: RT or RT-S
YEAR: 2010, 2011, 2012, 2013, 2014, 2015, 2016, 2017, 2018, 2019, 2020, 2021, 2022, Universal
| Part Number | Available with Vent | Clear | Tint | Wide | Thickness | Mounts for Factory Hardware | DOT Approved | Fits all RT Models | Made in the USA |
| 22" SPORT | |||||||||
| SRT-22-C | X | 0.177 | X | X | X | X | |||
| SRT-22-C-V | x | X | 0.177 | X | X | X | X | ||
| SRT-22-T | X | 0.177 | X | X | X | X | |||
| SRT-22-T-V | x | X | 0.177 | X | X | X | X | ||
| SRT-22-C-W | X | x | 0.177 | X | X | X | X | ||
| SRT-22-C-W-V | x | X | x | 0.177 | X | X | X | X | |
| SRT-22-T-W | X | x | 0.177 | X | X | X | X | ||
| SRT-22-T-W-V | x | X | x | 0.177 | X | X | X | X | |
| 25" STOCK | |||||||||
| SRT-25-C | 0.177 | X | X | X | X | ||||
| SRT-25-C-V | X | X | 0.177 | X | X | X | X | ||
| SRT-25-T | X | 0.177 | X | X | X | X | |||
| SRT-25-T-V | X | X | 0.177 | X | X | X | X | ||
| SRT-25-C-W | X | X | 0.177 | X | X | X | X | ||
| SRT-25-C-W-V | X | X | X | 0.177 | X | X | X | X | |
| SRT-25-T-W | X | X | 0.177 | X | X | X | X | ||
| SRT-25-T-W-V | X | X | X | 0.177 | X | X | X | X | |
| 28" PLUS | |||||||||
| SRT-28-C-W | X | X | 0.177 | X | X | X | X | ||
| SRT-28-C-V-W | X | X | X | 0.177 | X | X | X | X | |
| SRT-28-T-W | X | X | 0.177 | X | X | X | X | ||
| SRT-28-T-W-V | X | X | X | 0.177 | X | X | X | X |
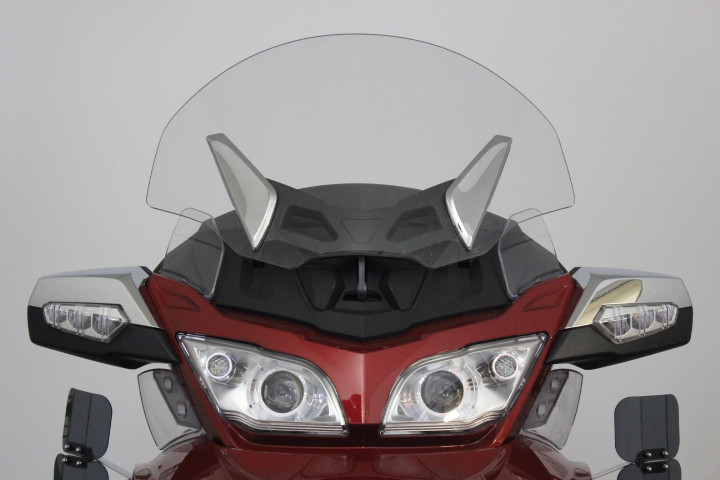
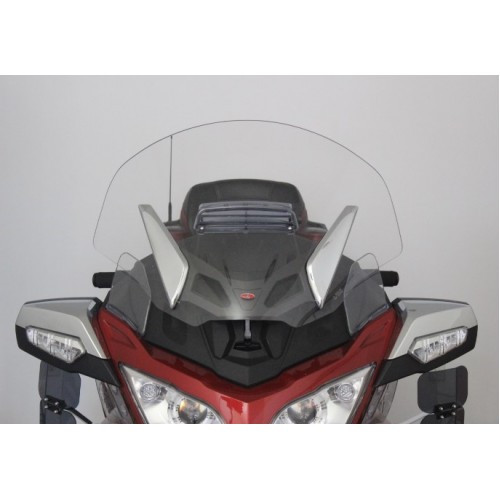

Watch How to Install the RT Windshield HERE
Download Installation instructions here.
Changing The Can-Am Spyder RT Windshield
Step 1:
Before shutting down engine, raise windshield to highest point.
Step 2:
Remove T-25 Torx bolts from back side of windshield bracket. These are the fasteners that hold the windshield trim pieces on. Place bolts on seat with T-25 Torx tool.
Remove trim pieces by slightly pulling top of trim out from windshield and moving trim piece downward. This will release the trim piece from the windshield. Lay on seat, left and right side noted.
TIP: Place a playing card (or something similar) between the bottom point of the trim piece and the windshield. This will prevent the tip of the trim piece from gouging the windshield when the trim piece is removed.
Step 3:
Remove T-30 Torx mounting bolts (a second set of hands will be very useful) and remove windshield.
IF INSTALLING ON A 2020 OR NEWER SKIP TO THE BOTTOM AND CONTINUE ON 2020 AND NEWER MODELS
Step 4:
Lay windshield on large flat surface. You will see metal spacers inside the rubber mounting grommets. Remove these by pushing out of grommet with a round object (a #3 Phillips screwdriver is perfect for the job). Carefully remove the rubber mounting grommets from the shield by slowly working them out of the holes in the shield.
Step 5:
Lay new shield on large flat surface. Slowly work rubber grommets into mounting holes in new windshield. Be patient, these can be challenging at times. Once the rubber grommet is in place, push the metal spacer into the rubber grommet. Once you have completed all four, you are ready for your helper again.
INSTALLING NEW SHIELD
IF YOU HAVE HANDLED THE SHIELD AND HAVE FINGERPRINTS ON IT, BE SURE TO CLEAN THE AREA THAT WILL BE BEHIND THE MOUNTING BRACKET.
Step 6: Hold the new shield up to the mounting bracket, moving slowly in order that the new shield (the glass itself) does not contact the metal bracket. Align the mounting holes and install the mounting bolts using care not to cross thread the bolts. Tighten snugly but do not over tighten.
Step 7:
Replace the trim pieces by placing L-shaped (don’t forget the playing card) tab into bottom square hole in shield. Use gentle pressure to push in toward windshield and UP so tab locks onto shield. Square boss at top of trim piece should fall into place in square top hole. Install T-25 bolts to fasten trim piece.
.
TO FINISH:
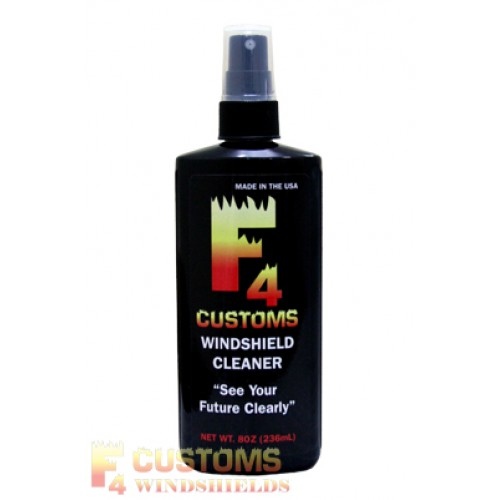
Use your favorite glass cleaner (or F4 Customs Windshield Cleaner) and paper towels to clean your new shield. Now, you can “See Your Future Clearly!”
IF INSTALLING ON A 2020 OR NEWER SKIP TO THE BOTTOM AND CONTINUE ON 2020 AND NEWER MODELS:
Step 4:
INSTALLING NEW SHIELD
Step 5: Hold the new shield up to the mounting bracket, moving slowly in order that the new shield (the glass itself) does not contact the metal bracket. Align the mounting holes and install the four embossed washers in each hole and then the mounting bolts using care not to cross thread the bolts. Tighten snugly but do not over tighten.
Step 6:
Replace the trim pieces by placing L-shaped (don’t forget the playing card) tab into bottom square hole in shield. Use gentle pressure to push in toward windshield and UP so tab locks onto shield. Square boss at top of trim piece should fall into place in square top hole. Install T-25 bolts to fasten trim piece.
.
TO FINISH:
Use your favorite glass cleaner (or F4 Customs Windshield Cleaner) and paper towels to clean your new shield. Now, you can “See Your Future Clearly!”
Thank you for your F4 Customs windshield purchase. If you have any difficulties regarding the replacement process, please feel free to contact us.
Questions? Comments?
sales@f4customs.com
(330) 968-4644
***F4 Customs is not responsible for any injury or harm to either the individual or product resulting from the installation process.

